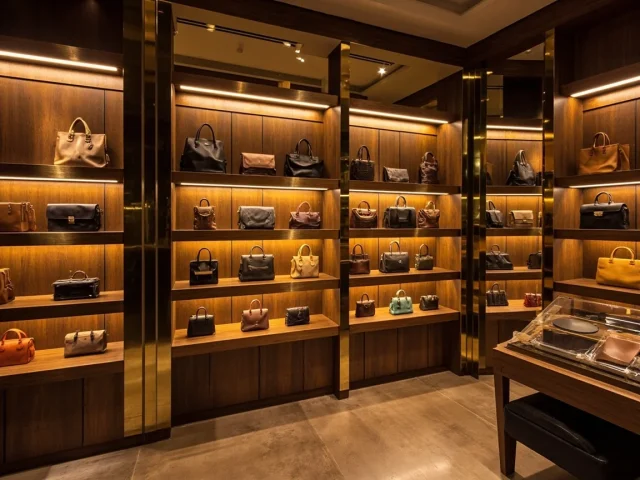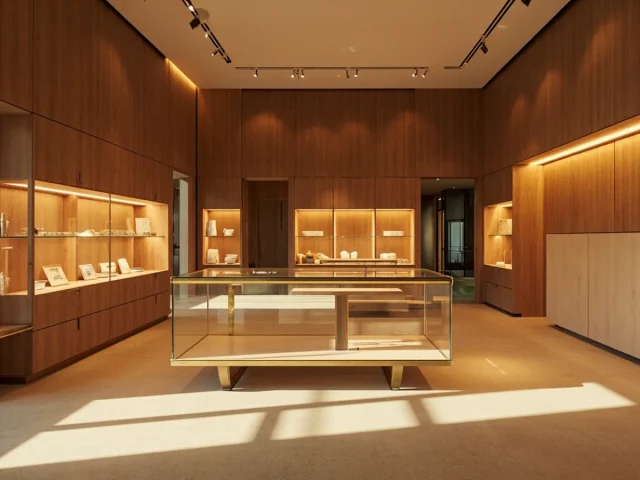
Luxury shoe display shelves are judged on a simple test: can a customer standing two meters away see the toe shape, heel profile, material finish and brand detail without crouching or squinting? Most disappointing shoe walls fail this test not because of poor styling but because of geometry. Depth, shelf tilt, riser height and vertical spacing decide whether a pair reads as a premium object or as stock on a shelf. This guide gives concrete starting dimensions for planning a shoe display wall that works for boutique retail, department concessions and showroom environments.
Start With the Shoe, Not the Shelf
Before drawing elevations, measure the largest and smallest products in the range. A women’s pump may be 240 mm long and 80 mm high; a men’s boot can reach 340 mm long and 180 mm high; a sneaker with a chunky sole can exceed 300 mm in length and 120 mm in height. If the display must hold a mixed collection, design to the 90th percentile and accept that the smallest items will need risers or grouped pairing.
Plan around three shelf depths as a rule of thumb:
- 220–250 mm depth for single-pair feature shelves holding flats, sandals and low-profile pumps placed at a slight angle.
- 280–320 mm depth for standard dual-purpose shelves carrying most sneakers, loafers and ankle boots, with room for a small price or story card.
- 350–400 mm depth for boot and high-top shelves, or where shoes are displayed in pairs with one slightly forward of the other.
Depth also affects sightlines. On a wall taller than 1.8 m, shelves deeper than 350 mm start to shadow the products on them, because the shelf above blocks ceiling light. Deep shelves belong at or below eye level; shallow shelves belong higher up.
Shelf Angles and Visibility
A flat shelf shows the top of a shoe and hides the toe box. That is why most luxury shoe walls tilt, if only a few degrees. A 5–8 degree forward tilt reveals the toe and vamp while keeping the pair stable; 10–15 degrees is better for wall-mounted display above 1.4 m, since it turns the shoe toward the viewer’s eye. Beyond 15 degrees, pumps slide, heels rotate and customers instinctively want to touch the product — which is the opposite of a clean display.
Physically, a tilt can be built in three ways: a fixed angled shelf panel, a wedge riser placed on a flat shelf, or an adjustable bracket system. Fixed panels look cleanest but lock you into one angle. Wedge risers are cheaper to change and are useful for testing a new collection. Adjustable brackets suit multi-brand retail where product heights vary season by season.
Angle also interacts with shelf lip height. A 10 mm front lip retains shoes on a tilted shelf without hiding the sole edge. If the lip exceeds 20 mm it starts to cut the silhouette of low-profile shoes, so keep lips shallow on feature shelves.
Vertical Spacing and Eye-Level Zones
The most common planning error is even spacing. Uniform gaps waste prime real estate and push hero products into dead zones. Divide the wall into three bands:
- Top band (above 1.9 m): brand graphics, campaign imagery or boxed stock. Not for saleable single pairs.
- Prime band (1.1–1.7 m): the highest-value, highest-margin product, spaced at 280–350 mm vertical intervals to allow a shoe to be lifted off and returned comfortably.
- Lower band (below 1.1 m): boots, heavier styles and secondary colourways, spaced at 320–400 mm.
Allow a minimum of 60 mm clear above the tallest shoe in a section so a customer can reach in without knocking the pair behind. If shelf spacing is adjustable, standardize hole pitches at 32 mm — the same system used in most retail shelving — so future changes are simple.
Lighting for Shoe Shelves
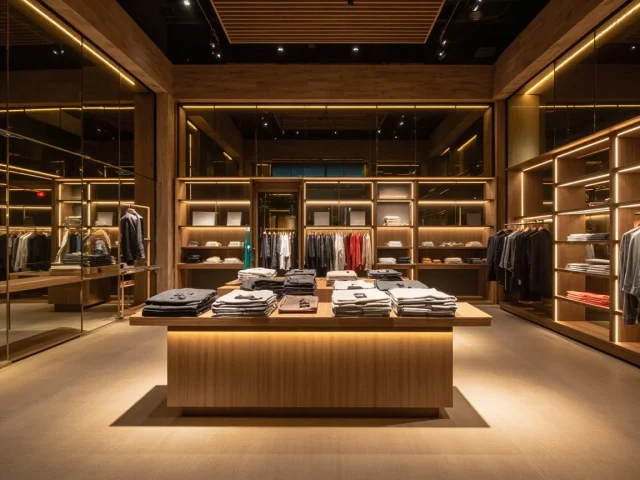
Shoes are mostly horizontal surfaces, which means they reflect light upward rather than toward the viewer. Integrate linear LED strip at the front underside of each shelf, aimed slightly back toward the product rather than straight down, at 3000–3500K and a colour rendering index of 90 or above. Aim for roughly 300–500 lux on the shelf surface in a boutique setting, with feature shelves pushed higher. Keep the strip recessed at least 15 mm behind the shelf edge so it is not directly visible from a standing position.
Lighting also sets the depth plan: an illuminated shelf needs a clean front fascia, which is easier to achieve with 25–30 mm thick panels than with thin glass. That thickness matters when pairs are displayed close together.
Materials and Finishing for Premium Perception
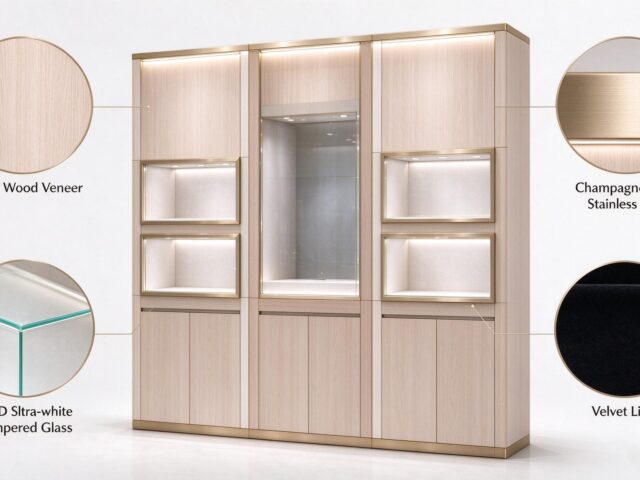
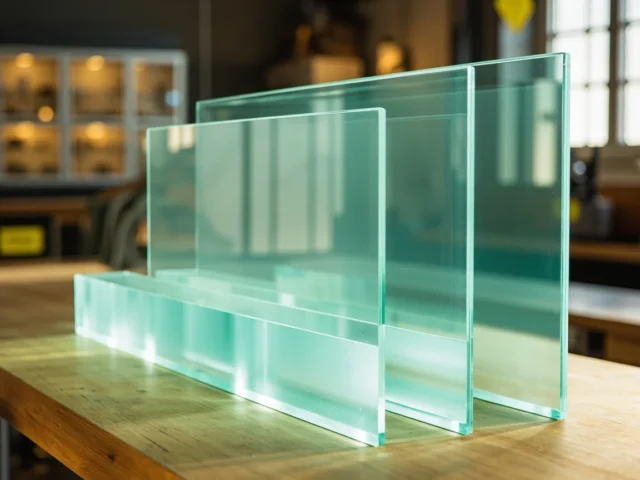
A luxury shoe wall is usually a calm surface. Matte lacquer in warm neutrals, micro-textured laminates, and veneered panels with tight grain all keep attention on the product. Metallic accents should be limited to shelf edges, frames and dividers — a thin 3–5 mm brass or stainless trim on the shelf front lifts perceived quality at modest cost. Glass shelves suit jewellery-style shoe presentation but show dust and fingerprints quickly; for high-traffic areas, solid shelves with a fine matte finish are more practical.
At Libafang, shoe display projects are typically built around a powder-coated steel frame with adjustable shelf brackets and removable riser inserts, which lets a retail team reset the wall for a new season without new cabinetry. Where the store needs a consistent look across markets, standardizing shelf pitch and depth modules helps keep fabrication and shipping predictable.
Practical Planning Checklist
- Measure the 90th-percentile shoe length and height across the range.
- Assign depths: 220–250 mm, 280–320 mm and 350–400 mm by product type.
- Set tilt between 5 and 15 degrees by shelf height, with a 10 mm front lip.
- Reserve the 1.1–1.7 m band for hero product at 280–350 mm spacing.
- Specify 3000–3500K LED at CRI 90+, recessed 15 mm behind the shelf edge.
- Keep shelf pitch adjustable in 32 mm increments for future resets.
Get the geometry right and the collection sells itself. Libafang can review your store dimensions, product sizes and brand direction and return a shelf layout with depths, angles, lighting positions and a free design and quote for production.