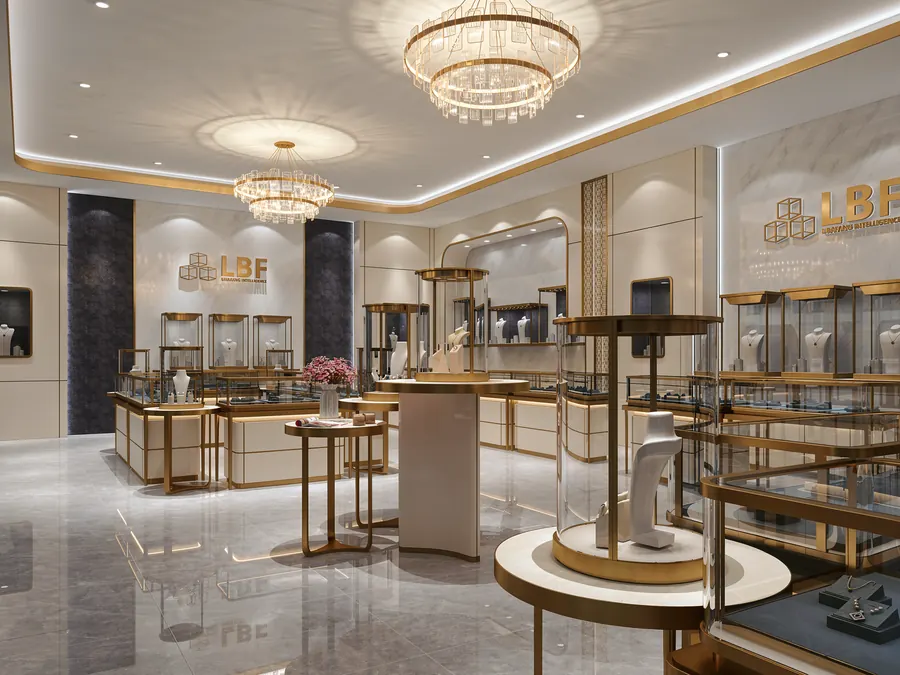
Most display showcase projects don’t fail at the workshop bench. They fail earlier—in vague drawings, mismatched dimensions, unconfirmed finishes, or a delivery schedule that nobody ever mapped to a store opening date. A repeatable showcase project workflow removes most of that risk. At Libafang we have refined a six-step process over more than a decade of manufacturing for jewelry stores, watch boutiques, museums and luxury retail clients, and it has shipped to 30+ countries. Here is exactly how it runs, step by step, including the numbers that matter.
Step 1 — Briefing and Feasibility Check (Days 1–3)
The workflow starts before any 3D modeling. We collect the store layout, counter positions, ceiling height, lighting plan, product dimensions and weight, brand materials guide, and the opening date the fixtures must support. Two numbers cause the most rework and are checked first: available depth behind the counter (showcases are usually 500–600mm deep) and total load per glass shelf.
Tempered glass shelves are typically rated at 20–40kg depending on thickness and span, while a dense watch cluster or a jewelry tray with heavy gem-set pieces can exceed that quickly. If a client wants drawer storage, LED integration, or an alarm loop, those are confirmed here. A short feasibility response within 48–72 hours tells you whether the concept is buildable as drawn and what it will cost at target.
Step 2 — 3D Design and Drawing Approval (Days 4–10)
Once the brief is signed off, our design team produces photorealistic 3D renderings plus a dimensioned drawing set. Clients review four things, in this order:
- Overall proportions — counter height (commonly 900–1000mm), case height above the counter, and sightline to product.
- Material specification — gold or rose-gold stainless steel, PVD coating color, suede or leather inlay, marble or lacquer cladding.
- Glass and lighting — 6mm or 8mm tempered glass, low-iron where clarity matters, and 2700–4000K LED strips with CRI of 90+ so gemstones read correctly.
- Security and access — lock position, hinge direction, sliding or lift-up opening, and any sensor or cable routing.
We allow two revision rounds inside the standard quote; most projects need one. Approval freezes dimensions and hardware, and that freeze is what keeps the production schedule realistic.
Step 3 — Engineering, Mock-up and Sample Confirmation (Days 11–18)
Approved renderings become shop drawings: exploded views, weldment details, tolerance notes and a full bill of materials. This is where tolerances get explicit. On a set of modular counters, for example, we hold frame dimensions to ±1mm across a 1500mm run so adjacent units sit flush with no visible step. Door gaps are set at 1.5–2mm, and glass panels are cut with a 2–3mm clearance to the frame to avoid chipping during transport and installation.
Where finish and color are critical, we produce a physical sample—a coated steel coupon, offcut of inlay material, or a scaled section of the light box—and send photos or ship the sample for sign-off. Confirming a PVD gold tone on a real panel is far cheaper than discovering a mismatch after 40 counters are finished.
Step 4 — Production and In-Line Quality Control (Days 19–45)
Production follows a fixed sequence: sheet cutting and forming, welding and grinding, polishing, PVD coating or galvanizing, painting or woodwork, assembly, lighting installation and glass fitting. Typical lead time for a mid-size retail rollout—say 15 to 40 units—is 25 to 40 working days after drawing approval, with simple single-counter orders running 15 to 20 working days.
Quality checks happen at three points rather than at the end: after welding and forming, after coating (color verification against the approved sample), and after assembly. Final tests on every powered unit include a 24-hour burn-in to catch flicker or driver faults, a draw test on sliding mechanisms, and a lock and hinge function check. Dimensions are re-measured against shop drawings before packing.
Step 5 — Packing, Shipping and Logistics (Days 46–60)
Showcases are fragile, heavy and expensive to replace, so packing is engineered, not improvised. Standard export packing is a five-layer corrugated carton with foam corner protection for small units, and fully enclosed plywood cases with internal bracing for glass-fronted counters. Glass travels in separate padded crates when dimensions allow. Each carton is labeled with unit number, assembly position, weight and a QR code linked to the packing list and installation drawings.
For sea freight, FCL is normal once volumes exceed about 10–12CBM; below that, LCL or air freight is quicker and often better value against a fixed opening date. We prepare commercial invoice, packing list, and certificates where required, and can quote FOB, CIF or DDP depending on the destination.
Step 6 — Installation Support and Handover (On Site)
Every shipment includes a numbered installation drawing and labeled cartons that mirror each other, so a local fitter can assemble without guessing. Where budgets allow, we send a supervisor for complex museum or flagship installations; for standard retail rollouts, remote video support handles most questions.
On-site handover covers leveling the units, aligning adjacent counters, connecting LED drivers to the store circuit, running a full function test of locks, drawers and lighting, cleaning, and completing a punch list. Any issue found within the agreed warranty period—commonly 24 months on structure and hardware, 12 months on electrical components—is handled with replacement parts shipped by air.
A defined workflow is not bureaucracy; it is what allows a Guangzhou factory to deliver a jewelry counter to a boutique in Europe or the Middle East with the dimensions, finish and timeline intact. If you are planning a store fit-out or a multi-store rollout, request a free 3D design and quote and we will map this six-step process to your opening date.