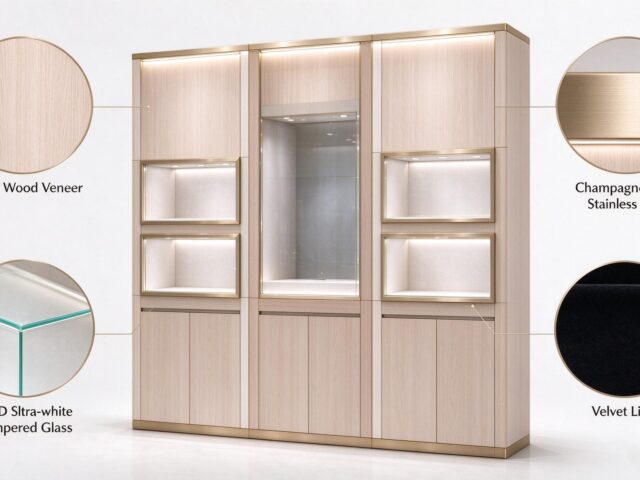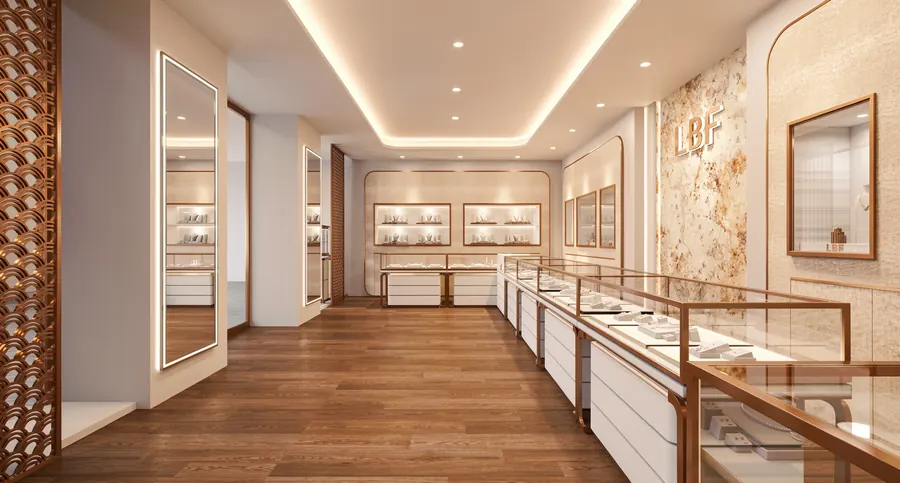
Jewelry counters fail on wiring for one of two reasons. Either the cables are visible and ruin a luxury display, or they are hidden so thoroughly that every bulb replacement turns into an hour of dismantling. Good jewelry counter cable management solves both problems at once: it keeps wiring out of sight while leaving every connection reachable in minutes. This guide covers the practical details — what to hide, what to leave exposed, which hardware to specify, and how to design service access into a showcase before it is built rather than after.
Start With a Cable Inventory, Not a Cabinet
Before choosing trunking or covers, list every cable the counter will carry. A typical illuminated jewelry showcase with a security alarm carries 4–6 distinct services: mains feed for LED drivers, low-voltage LED runs to shelf and strip lighting, LockLine or pull-cable security tethers, CCTV or door-sensor wiring, and often a POS or tablet charger. Count them and note the connector type, because connector size — not cable diameter — dictates conduit bore.
As a working rule, one cable needs a 20 mm conduit, three need 25 mm, and five or more (or any mains plug that must pass through) need 32 mm. Leave 40% spare capacity for future additions. Undersized conduit is the single most common cause of exposed retrofit cabling later, when store staff simply run a new lead along the counter edge rather than cutting into a finished plinth.
Build Concealment in Three Layers
The most reliable approach separates concealment into zones, so no single component carries all the responsibility.
- Plinth and under-counter void: route all mains and high-current runs here, with a removable kick plate or back panel retained by magnetic catches or quarter-turn fasteners.
- Vertical risers and uprights: hide low-voltage lighting leads and security tethers inside the structure, using fixed conduit or molded channels, never loose cable in the cavity.
- Display deck and shelf edges: use clip-on aluminum or ABS profiles with removable end caps to cover the last 200–400 mm where lighting enters the glass area.
This layered approach means daily staff can adjust a shelf without seeing a single conductor, while a technician can reach any connection point by opening one panel.
Design Service Access Into the Counter
Access is a design decision, not a feature added at the end. Aim for no more than 10 minutes to reach any LED driver or connection point with a single tool. Three elements make that achievable: hinged or lift-off front panels instead of fixed gluing, obvious finger pulls so staff do not pry at finished edges, and a two-thirds access zone on the customer-facing side for driver and connector work.
Specify fasteners that are compatible with frequent use — magnetic catches and quarter-turn locks survive hundreds of cycles, whereas countersunk screws into laminate lose thread within a year or two. Label every cable at both ends with a printed or shrink-wrap tag showing service type and counter zone; a small investment that saves real time on every maintenance visit. For museum and heritage clients, remote drivers that slide out on rails are worth the extra cost because lighting changes happen inside the display case, not behind it.
Separate Power From Signal
Jewelry cameras and alarm circuits are low-level signals, and packing them against 230 V mains causes interference in CCTV feeds and false alarm triggers. Keep a minimum of 50 mm physical separation between mains trunking and signal or coax runs, or use a grounded metal divider. Route data and CCTV away from the LED drivers, and where a cable must cross a mains run, do so at an angle rather than running parallel for long distances.
Also plan the power draw. A typical illuminated jewelry counter pulls 150–300 W for LED lighting, plus drivers rated to run at no more than 80% of capacity. Build driver placement into the design as a serviceable module — warm and cool drivers fail, and having them accessible under a lift-off panel keeps replacement a shop-floor task rather than a furniture repair.
Specify, Commission and Maintain
When briefing a manufacturer, include conduit diameters, connector sizes, spare capacity, the number of access points and their fastener types, and a cable schedule in the specification. Placing this into the design pack prevents ambiguity during production.
On site, commission with a clear checklist: label a full cable schedule, test drivers under load, document which panel covers which service, and hand over as-built routing photos. Then keep the system clean with a simple routine — annual checks of conduit caps and cable condition, driver outputs checked every 12–18 months as LED modules age accumulatively, and immediate replacement of damaged covers. Replacement cover sections are included with the initial order.
Libafang Showcase Co., Ltd. builds custom display showcases for jewelry stores, watch boutiques, museums and luxury retail across 30+ countries, works from Guangzhou, and incorporates cable routing and service access into every specification from the design stage.
Planning a new jewelry counter or refitting a store with exposed wiring? Send us your counter layouts and power requirements for a free design and quote — we will return a routing and access plan tailored to your cabinet dimensions.