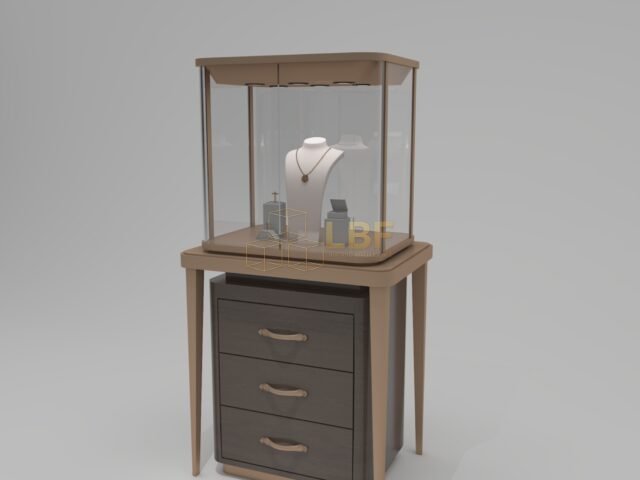

A display cabinet is only as good as the trays that sit inside it. If a jewelry tray is 5 mm too wide, it jams against the drawer runner; if it is 20 mm too shallow, the tray slides forward every time the door opens and the rings fan out of alignment. Jewelry showcase manufacturers deal with this problem constantly on custom orders, because the tolerance budget for a display insert is far tighter than most buyers expect. A typical locking showcase drawer is built to roughly ±1 mm on internal dimensions, so the tray that goes into it has to be specified with the same discipline. This article explains how to measure, how to match trays and inserts to real cabinet interiors, and where compatibility failures usually come from.
Start With the Cabinet Interior, Not the Tray Catalog
The single most common mistake is choosing trays first and hoping the cabinet fits around them. Work in the opposite direction. Measure the clear internal width, depth and usable height of each compartment, drawer or shelf, and note which surfaces are fixed (a back panel, a lock block) and which are movable. Record the internal width between the drawer runners, not the external drawer width; on a 450 mm drawer box, the clear usable width is often 400–410 mm. Also measure the usable depth after allowing for the rear lock rod, which typically eats 15–25 mm of drawer depth on a locking unit.
Write down the module grid before ordering anything. If the clear width is 405 mm, you can plan three modules of 130 mm with 5 mm of movement tolerance, or two modules of 200 mm, but not four modules of 105 mm once you account for the velvet wrap on each tray edge (usually 1.5–3 mm per side). Modules must add up to the interior with a small allowance, not exceed it.
Key Dimensions for Jewelry Display Tray Compatibility
Four measurements decide whether a tray system works. Get all four right and the tray will sit flat, pull out smoothly and stay aligned over years of daily use.
- Clear width: the distance between drawer runners or cabinet side walls, measured at the level the tray will rest on.
- Clear depth: front-to-back usable depth after the lock block, back panel and any cable or lighting channel.
- Clear height: from the tray base to the underside of the next drawer or shelf, minus 3–5 mm of safety clearance, so necklaces and watch pillows do not scrape.
- Base thickness: tray bodies are commonly 8–12 mm, and the insert adds another 10–15 mm, so a 720 mm wide, 370 mm deep stack of trays can lose 40 mm of vertical space quickly.
Check the drawer pull-out as well. A loaded jewelry tray of 400 × 300 mm with rings and chains can weigh 2–4 kg, and a fully extended drawer opening of 100 percent means the tray must be rigid enough not to flex at the front edge. A tray base below 8 mm in plywood or MDF will sag noticeably at that width.
Matching Insert Types to Tray Footprints
Inserts — ring rolls, flat pads, necklace slots, earring cards, watch cushions — should be specified against the internal tray footprint, not its outside dimensions. A tray with a 2 mm wall and 3 mm velvet wrap on each side has an internal opening roughly 10 mm narrower and shorter than the outside. If you plan a 6 × 4 grid of ring slots at 45 × 55 mm each, the internal opening needs at least 270 × 220 mm, plus a few millimeters of insert clearance so the foam does not bow.
Modular inserts solve most compatibility problems. Standard module widths of 50, 65, 100 and 130 mm let you mix ring rolls, flat pads and compartment trays inside one outer tray frame, so a single cabinet can be reconfigured as a brand’s assortment changes. Keep one fixed variable: the outer tray frame. Then only the insert changes, which is far cheaper than rebuilding drawers.
Materials and Finishes That Affect Fit
Velvet, suede, leatherette and suede-lined foam all add thickness. A velvet-wrapped insert can measure 3–4 mm larger than its foam core on each side, so specify the finished size, not the core size. Foam density matters too: low-density foam compresses over 18–24 months of daily use, and ring slots that held snugly at delivery can loosen by 1–2 mm. Medium-density polyurethane foam, or flocked HIPS inserts for high-traffic retail, hold shape better.
Humidity is the other quiet variable. Exporters shipping to Southeast Asia or the Gulf should expect 60–80 percent relative humidity in transit, which can swell MDF by 0.3–0.5 percent. On a 400 mm tray, that is up to 2 mm. A pre-finished, sealed tray body and a 1–2 mm fit allowance prevent the tray from sticking.
Testing Compatibility Before Production
Ask for a physical sample tray in the production material and test it in the actual cabinet, or at least in a factory mock-up of the clear internal dimensions. Check drawer travel with a full load, confirm that trays lift out without catching on runners, and verify that stacked trays do not touch the underside of the drawer above. A pre-production fit test normally adds 5–10 days to lead time and prevents a very expensive rework of 50 or 200 trays.
For custom jewelry cabinets, Libafang builds tray and cabinet together so the module grid, velvet wrap and drawer clearances are set in one drawing rather than negotiated after the fact. If you are matching new trays to existing cabinets, send the interior measurements and your insert layout, and the team will return a dimensional drawing with tolerances and a material recommendation.
Send your cabinet dimensions, insert layout and quantity for a free design and quote. The more detail you provide — clear widths, drawer travel, existing tray sizes — the faster the drawing will come back.