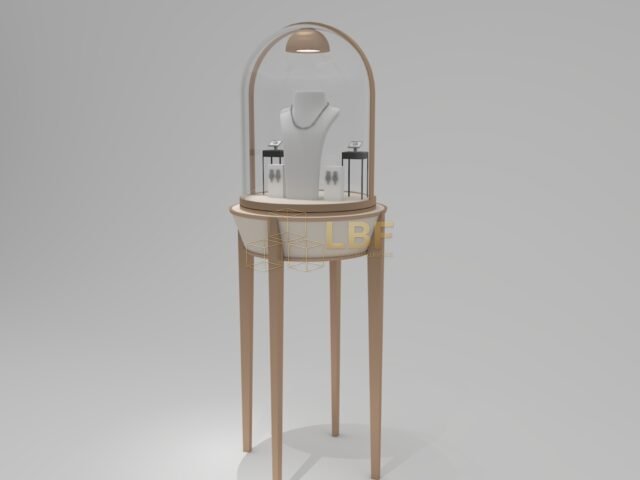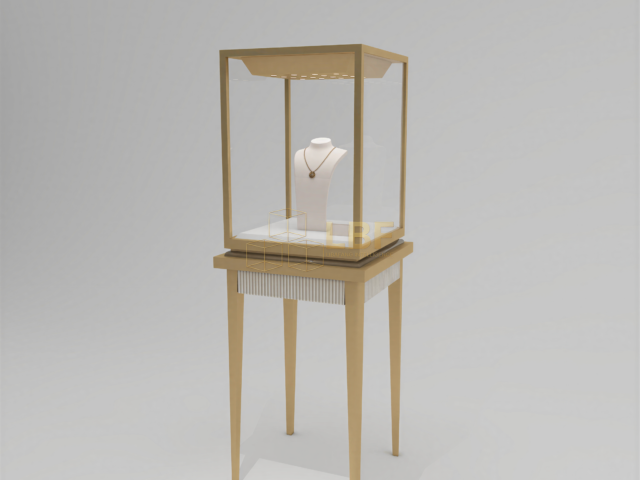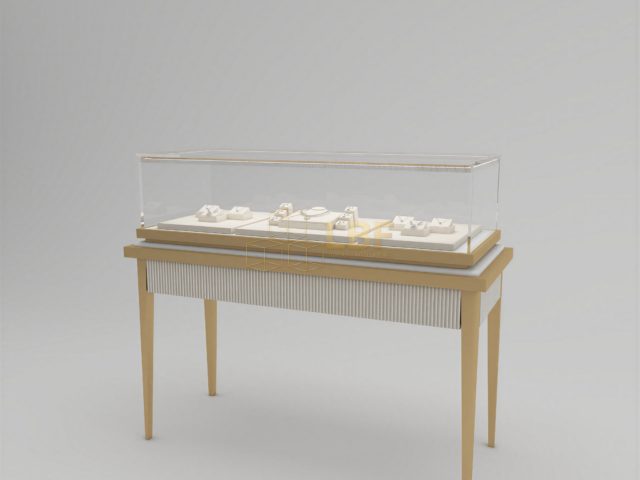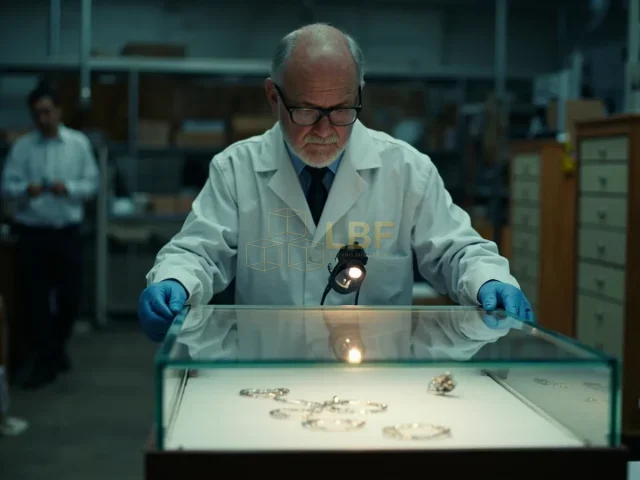

Every museum display case is a controlled environment. Temperature is held within ±1 °C, relative humidity often within ±3 % RH, and dust ingress is kept to ISO 7 or better inside the vitrine. Then an environmental sensor, an alarm contact, or a data cable needs to get in — and someone drills a hole. That hole is where the seal usually fails. Museum display case sensor wiring is not difficult, but it is unforgiving: a 6 mm hole in a 1.2 m case can shift internal RH by several percent within 24 hours, and a poorly sealed penetration at a corner joint starts drawing dust the day it is installed. This article covers the practical decisions that keep sensors accurate and seals intact.
Decide the cable route before the case is built
The cheapest penetration is the one designed in at the factory. On new casework, specify sensor and alarm cabling at the drawing stage so that the case maker can put penetration points into a structural frame member rather than a glass panel or a 12 mm panel face. Good practice is to route cables through the base plinth or the rear service column, both of which have more thickness to seal against and are rarely visible. Budget for one 25 mm service port per cavity plus 1 spare (typically 30–50 mm diameter) that carries every cable — power, sensor, RFID, and data. A single well-sealed port is far easier to certify than five small holes. If you are retrofitting, plan the port in the least visually prominent corner, more than 100 mm from any edge seam, and never through a glass panel.
Seal with the right hardware, not silicone alone
Sealant is the last line of defence, not the primary one. A proper penetration has three elements: a rigid bulkhead fitting or cable gland, a compressible gasket, and a strain relief. Select glands by cable diameter, not by guesswork: a 6 mm cable needs a gland with a clamping range of roughly 4–8 mm, tightened to its specified torque (often 2–3 N·m) so the gasket compresses without cracking. Where cables pass through a plinth, a 360° compression grommet is one of the airstream benefits — it seals the whole cable bundle with a single nut.
- Use multi-cable grommets with a membrane that compresses around each cable, rather than individual drilled holes for every core.
- Fit a service loop of 150–250 mm inside the case so sensors can be handled without pulling on the gland.
- Seal joints and cut cores with a low-outgassing sealant (neutral-cure silicone or polyurethane), never acid-cure silicone, which can corrode wiring and release acetic acid into the microclimate.
- Keep signal cables separate from mains cable runs by at least 50 mm, and use shielded twisted-pair for analog 0–10 V or 4–20 mA sensor loops.
- Label both ends of every cable and record the penetration in the case’s service log before closing the plinth.
Choose sensor cables that tolerate a sealed case
Inside the vitrine the environment is the point — so the cable jacket must not fight it. Standard PVC jacket is acceptable for many institutional cases, but low-plasticizer PVC is preferable where organic materials (paper, textiles, painted wood) are displayed, since some plasticizers outgas and can fog the internal glass over months. For cases that hold seals and other pollutants-sensitive artifacts, specify FEP or PTFE-jacketed cable, which has essentially no outgassing and tolerates temperature variation without stiffening. Conductor size matters too: 0.5–0.75 mm² (about 20–18 AWG) is ample for 4–20 mA and digital temperature sensors, but voltage-drop calculations start to matter on humidity sensor runs over 15 m. Keep powered sensor assemblies at 12–24 V DC rather than running long low-voltage lines, and use a 4-wire Pt100/Pt1000 or a calibrated RH transmitter rather than relying on long analog pairs for precision work.
Test the seal, then document it
A sealed case is only sealed if you can prove it. Before the case goes on display, run three checks. First, a pressure-decay or smoke test on the penetration point with the service port closed and cables pulled to their final tension — a common leak caught at this stage is the cable gland nut left hand-tight rather than torqued. Second, a 24-hour RH stability check with the sensor installed: in a well-sealed case, internal RH should hold within ±2 % RH of the control target when the gallery environment shifts by 5 % RH. Third, a visual record of each penetration with the gland type, cable IDs and sealant batch. Photograph and file it with the case service documentation, and note the date so a future technician can open the cable from the same service loop rather than drilling a second hole.
Coordinate power, sensor and data in one plan
Most failures start as coordination problems. The HVAC contractor specifies an RH probe, the case maker builds a 12 mm plinth, the installer cuts the hole larger than needed because the connector will not pass through it, and the seal is compromised before commissioning. Insist on a single wiring schedule agreed between the case designer, the controls contractor and the conservator before fabrication. At Libafang, sensor and alarm penetrations for bespoke jewellery and museum casework are usually specified at the design stage using pre-drilled service ports with compression grommets and documented service loops, and we recommend the case drawings show every penetration in elevation rather than leaving it to site. If you are specifying casework for a new gallery, add a requirement that the case maker provides a penetration schedule and a sealing specification as part of the submittal — it is a short document that saves weeks of rework later.
Get it right at the drawing stage
Museum display case sensor wiring, done well, is almost invisible: a tidy service port, one bundle of labelled cable, a verified RH reading, and a documented seal test. Done badly, it is a slow-moving conservator problem. Bring your sensor list and route plan to the design table and let the case be built around them — Libafang can review your wiring and sealing requirements with a case-specific solution, including bulkhead fittings, low-outgassing sealants and an agreed penetration schedule. Request a free design consultation and quote and we will walk through the drawings with you before anything is cut.